Change Tune-O-Matic strings like a Pro
Author: Artist Guitars
Change your Tune-O-Matic Electric Guitar Strings like a Pro
Learn how to change the strings on an electric guitar with a Tune-O-Matic–style fixed bridge—just like a pro. This tutorial is designed for guitars equipped with a Tune-O-Matic bridge. You can also check out our guide on how to change strings on other guitar styles here.
When changing strings, be sure to keep your guitar in tune throughout the process by replacing one string at a time. Guitars are built to stay under tension, and removing all the strings at once can negatively affect the neck.
1. Lay Down the Guitar
Lay your guitar on a clean, flat surface—such as a desk or table—and make sure there’s no debris that could scratch the finish.

2. Remove your Strings
Remove one string at a time—this is very important. Loosen the tuning machine until the string has no tension, then unwind it completely from the post. Finish all the steps for that string before moving on to the next one.
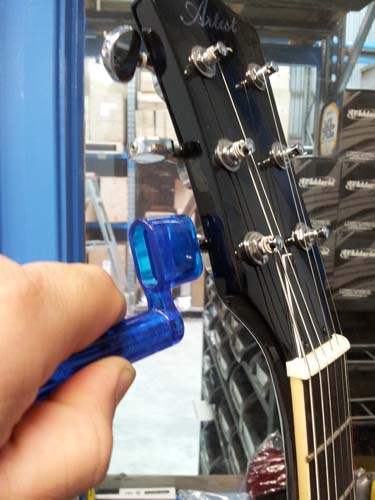
Pro tip - Use a string winder! A string winder will make this step a lot easier and quicker
3. Pull Through
Once the string is fully slack, remove it from the tuning post by gently pulling it through the hole.

4. Free the String
After freeing the string from the tuning post, push it through the Tune-O-Matic bridge tailpiece to remove it from the guitar. The ball end will pop out of the back of the bridge—guide it with your other hand to prevent it from scratching the guitar’s body.
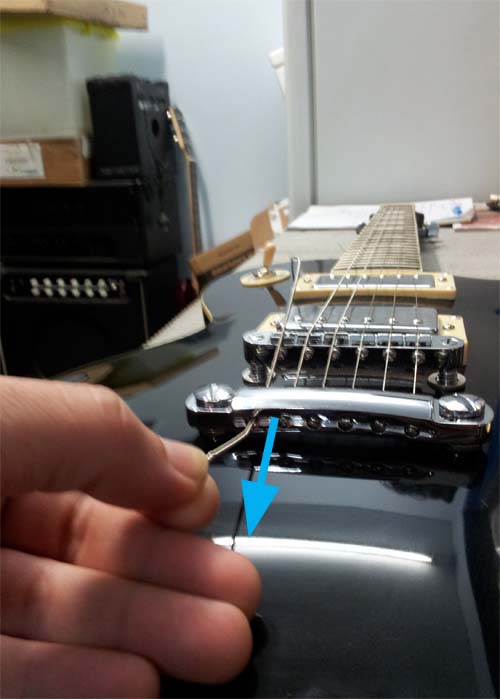
5. Trim the Top and Bottom of the String
Using side cutters, trim the curled end of the old string to make it easier to feed it completely through the bridge and out the back.
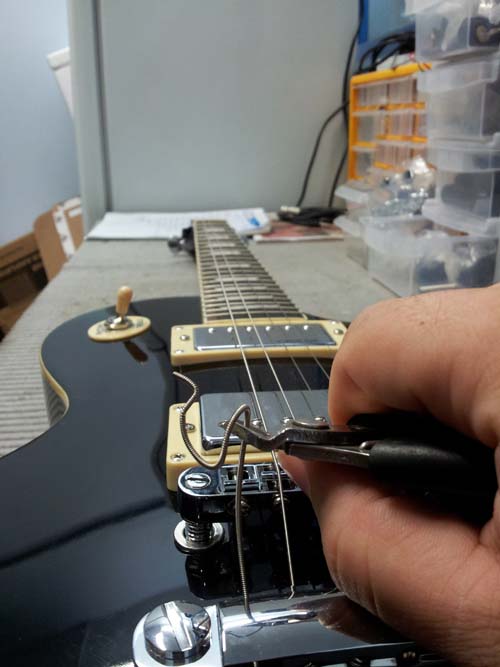
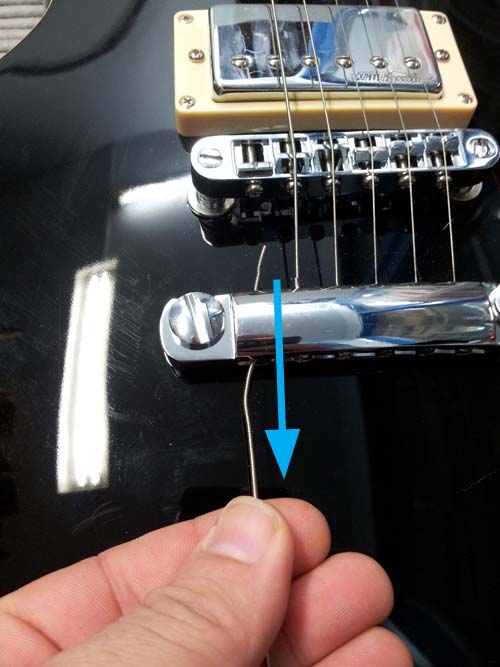
6. Remove the String
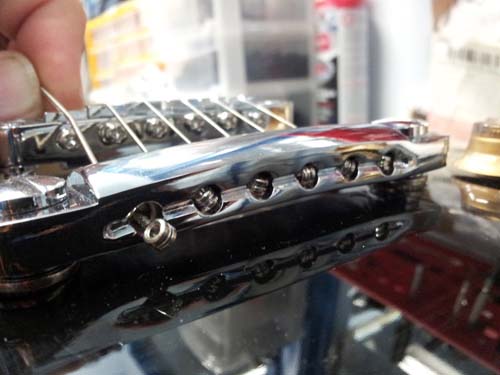
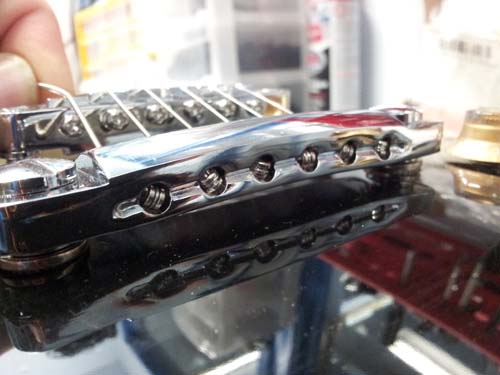
Take the new string out of its packaging and feed the end without the ball through the Tune-O-Matic bridge. Make sure the ball end seats firmly in its slot. Any excess string can be trimmed later once you’ve completed the remaining steps.
7. Insert the New String and Extend
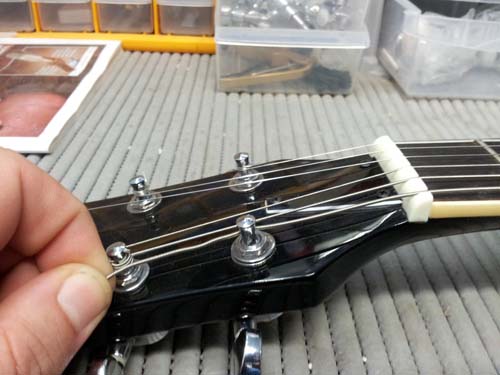
After feeding the string through the bridge, pull it up to the tuning machine and thread it fully through the corresponding tuning post.
8. Wind the String Around the Machine Head
Next, begin preparing the string for winding. After threading it through the tuning post, pull the string back out by about 4–5 cm—using the distance to the first fret as a helpful guide. Hold the string tight at the tuning post with one hand, and with the other, pull it back to the first fret. This amount of slack will create roughly 2–3 wraps around the post, which is ideal for tuning stability. Too few wraps can cause slippage, while too many can make the string go out of tune more easily.
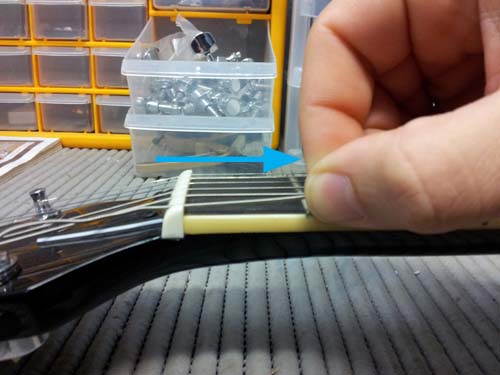
9. Begin Turning the Tuner
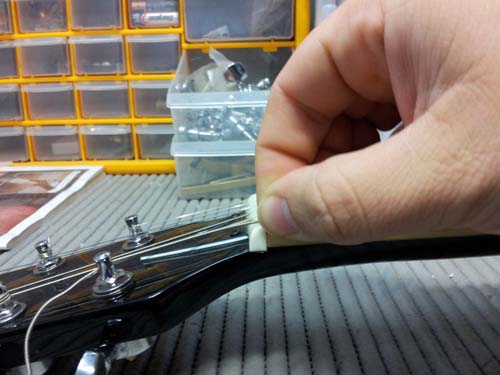
As you wind the string, be sure to lift it slightly so it doesn’t rub through the nut. Sliding the string back and forth in the nut slot can wear it down, causing the string to sit lower than it should. This can lead to buzzing or even string muting. If the nut wears out, it will need to be replaced, and the guitar will require a full setup by a professional technician—which can cost over $100.
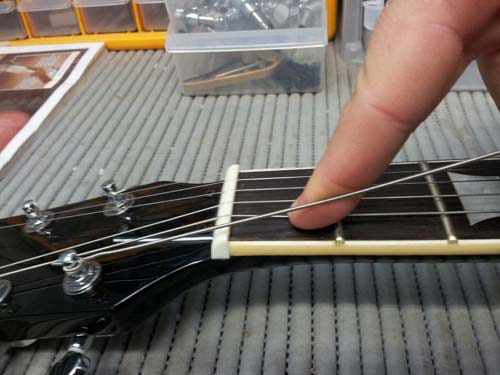
10. Lubricate
Before tuning the string to pitch, it’s a good time to add some lubricant to the nut and saddle. This helps the strings glide smoothly through these contact points, reducing wear and keeping your guitar in tune. Proper lubrication can also prevent strings from getting stuck, which can lead to breakages. Apply a small amount along the string slots in both the nut and the bridge.
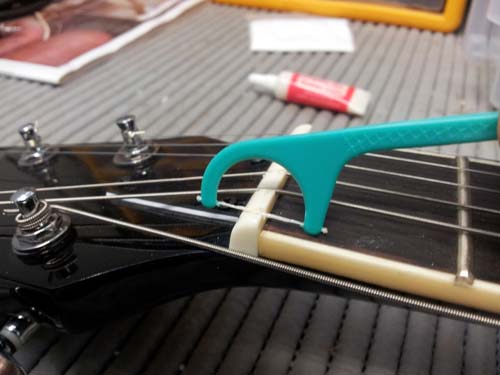
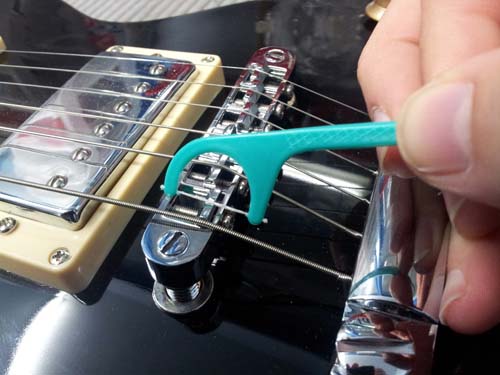
11. Tune Up to Pitch
Now you can start tensioning the string and tuning it to pitch before moving on to the next string. Once the string begins to hold tension on its own, start tuning it to the correct note.
New strings are still stretchy, so gently but firmly pull on the string to help it stretch. This helps the string settle and stay in tune. Note that new strings may go out of tune more frequently during the first few days before they stabilize.
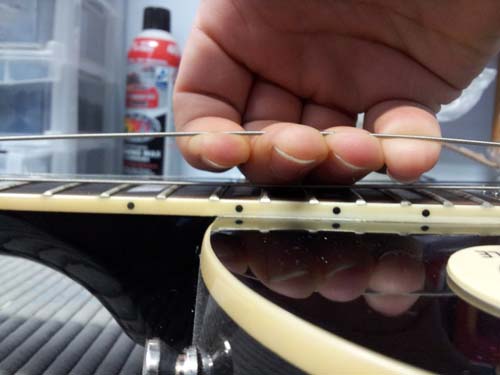
This step is critical for a perfect string change. Play the note, then pull on the string and retune. Listen carefully—if the note drops in pitch, there’s still slack, and you’ll need to retune. Repeat this process—pull, retune, and test—several times (often 5–8) until the string reliably holds its correct pitch.
12. Clean Up
Trim the excess string 1cm away from the machine head for a tidy, professional look. Be careful not to accidentally cut the guitar string.
Congratulations! You now know how to change your strings like a professional!
