
Author: Michael Back Date Posted:24 May 2021
The Artist EDK range has the ability to send MIDI data either from a MIDI OUT port (edk260) or using USB (EDk822 and 924M). We’re here to dive a bit deeper into this and understand exactly what that means.
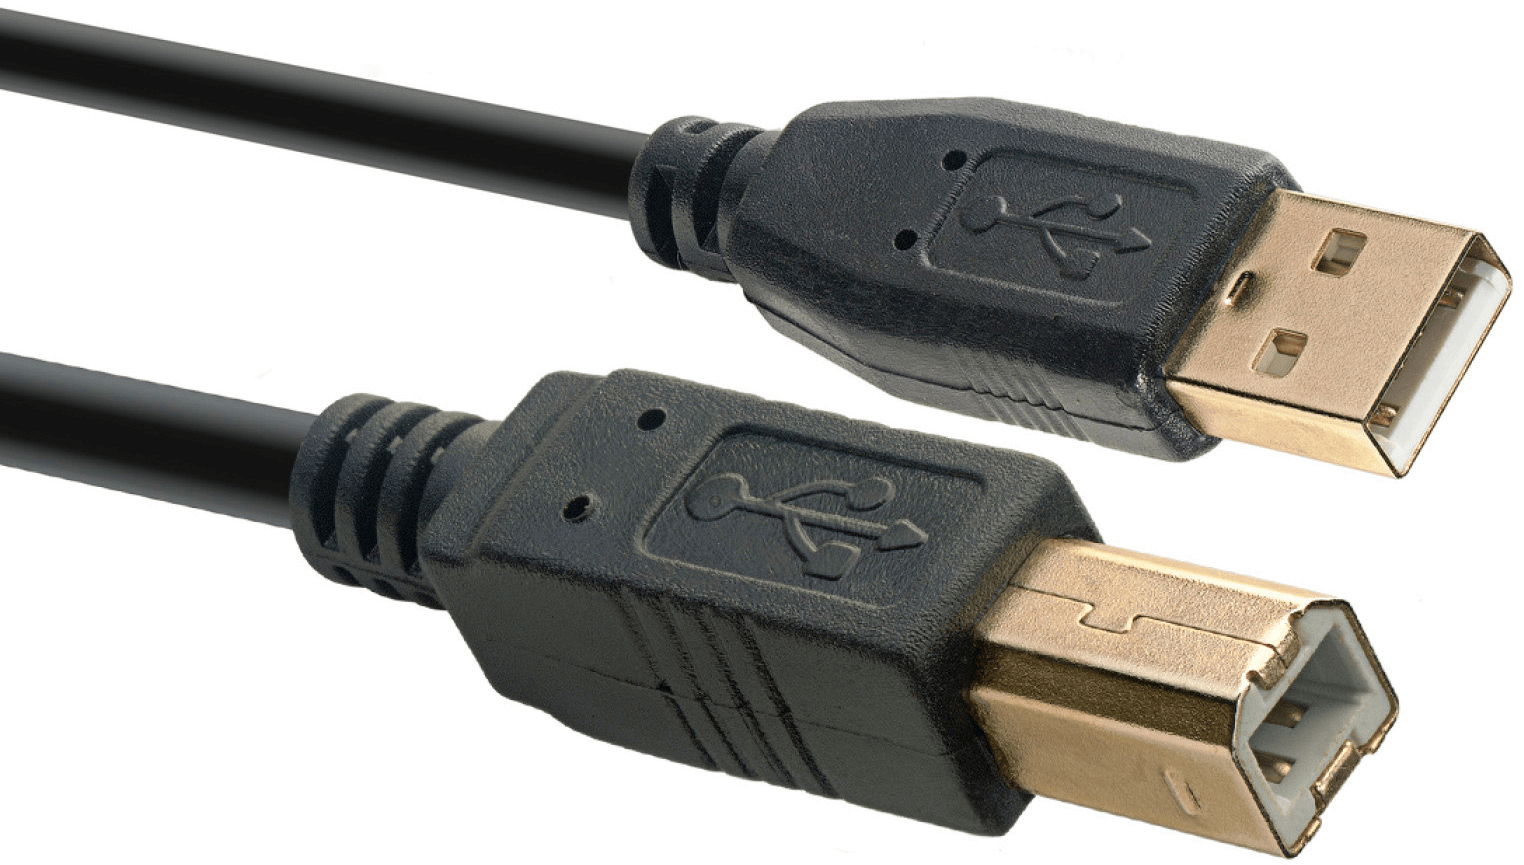
The 822 and 924M both have a USB port. To get the MIDI data to your PC, you will need to use a USB type B cable, pictured below.
On the EDK260 there is no USB connection, but there is a MIDI-OUT connection. This means you’ll need a different type of cable to connect it. You’ll need either a MIDI to USB cable, or a midi cable to plug into your soundcard/audio interface. MIDI to USB cables typically have 2 connections on one end, a MIDI-IN and a MIDI-OUT. These cables are more expensive than the USB-B cables, as they have a MIDI interface built into them, to convert the MIDI signal so it can be read by the USB connection.
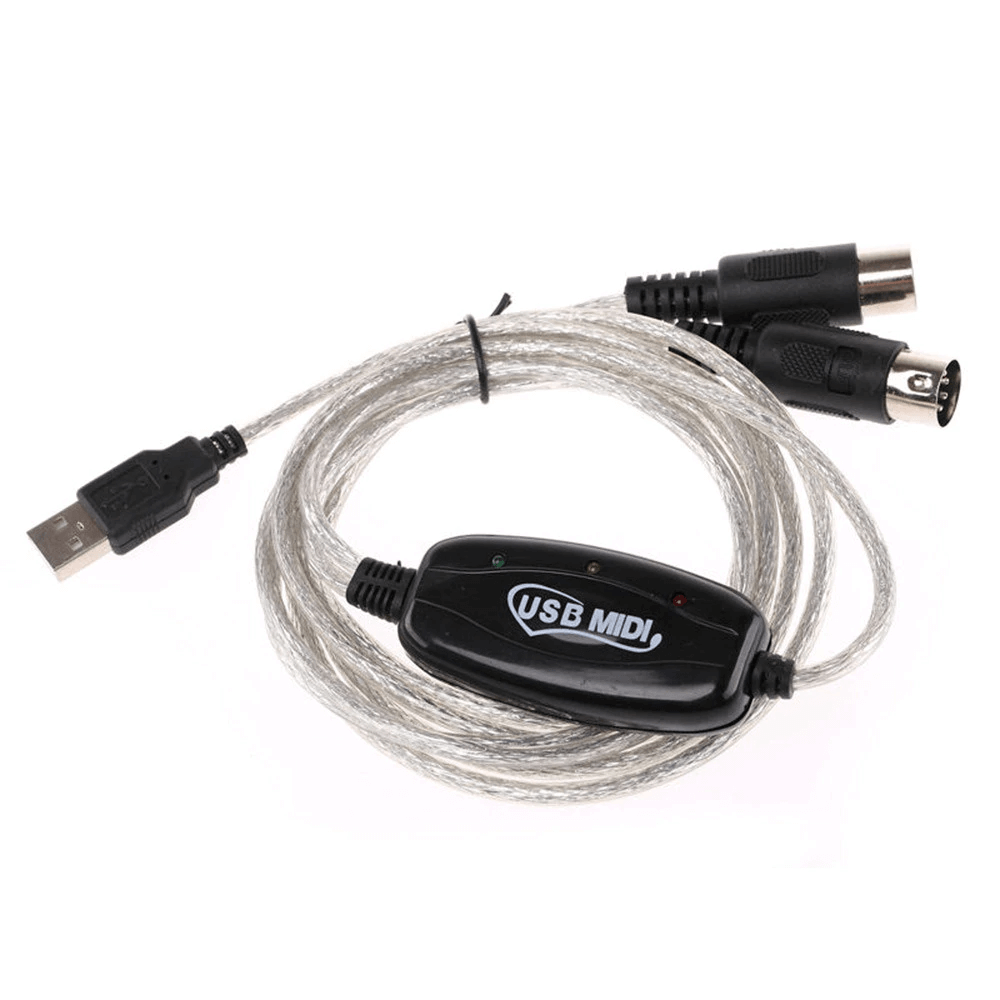
USB to MIDI Interface Cable
Firstly, let's have a look at how to set everything up on your computer. To get started, you’ll need to connect either your USB or MIDI cables and turn on the module. From here, the setup differs slightly depending on whether you’re on a Mac or a PC.
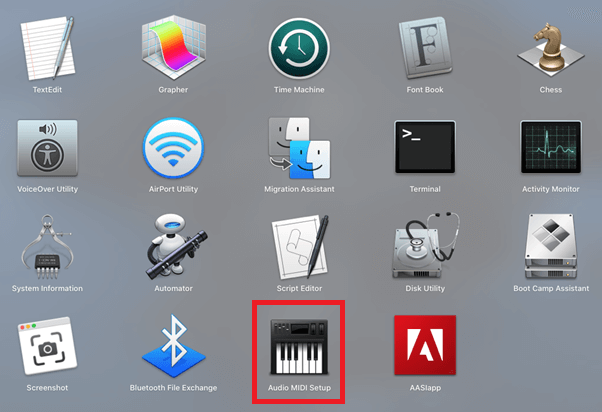
Once you connect and power up the drum kit, navigate to the “Audio MIDI Set-Up” app on your Mac.
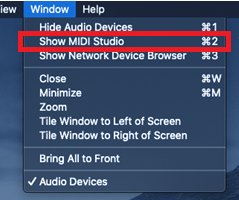
When it’s opened, select Window > Show MIDI Studio.
Once this is done, you should see the drum kit in the MIDI Studio. It will be labelled “EDRUM”
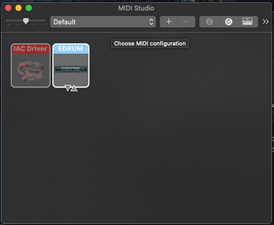
Once you see this, you’re good to go!
Once you connect and power up the drum kit, you’ll likely see a notification on the bottom right-hand corner of your screen. This tells us that Windows is installing the drum kit as a MIDI device. The process takes a couple of seconds and once you get a notification saying “device successfully installed”, you’re good to go.
To successfully interface with the computer, you’ll need to have a Digital Audio Workstation (DAW) installed on your computer. These kinds of programs are widely used for recording and production. The setup within these programs does differ from program to program, but we will be running through the setup on Ableton Live (PC) and Garageband (MAC)
Once the kit is installed on your computer, you can use it in Ableton. Firstly, you want to create a new MIDI track. When opening Ableton, there should be 2 blank MIDI tracks to use on the default project. It should look like this: 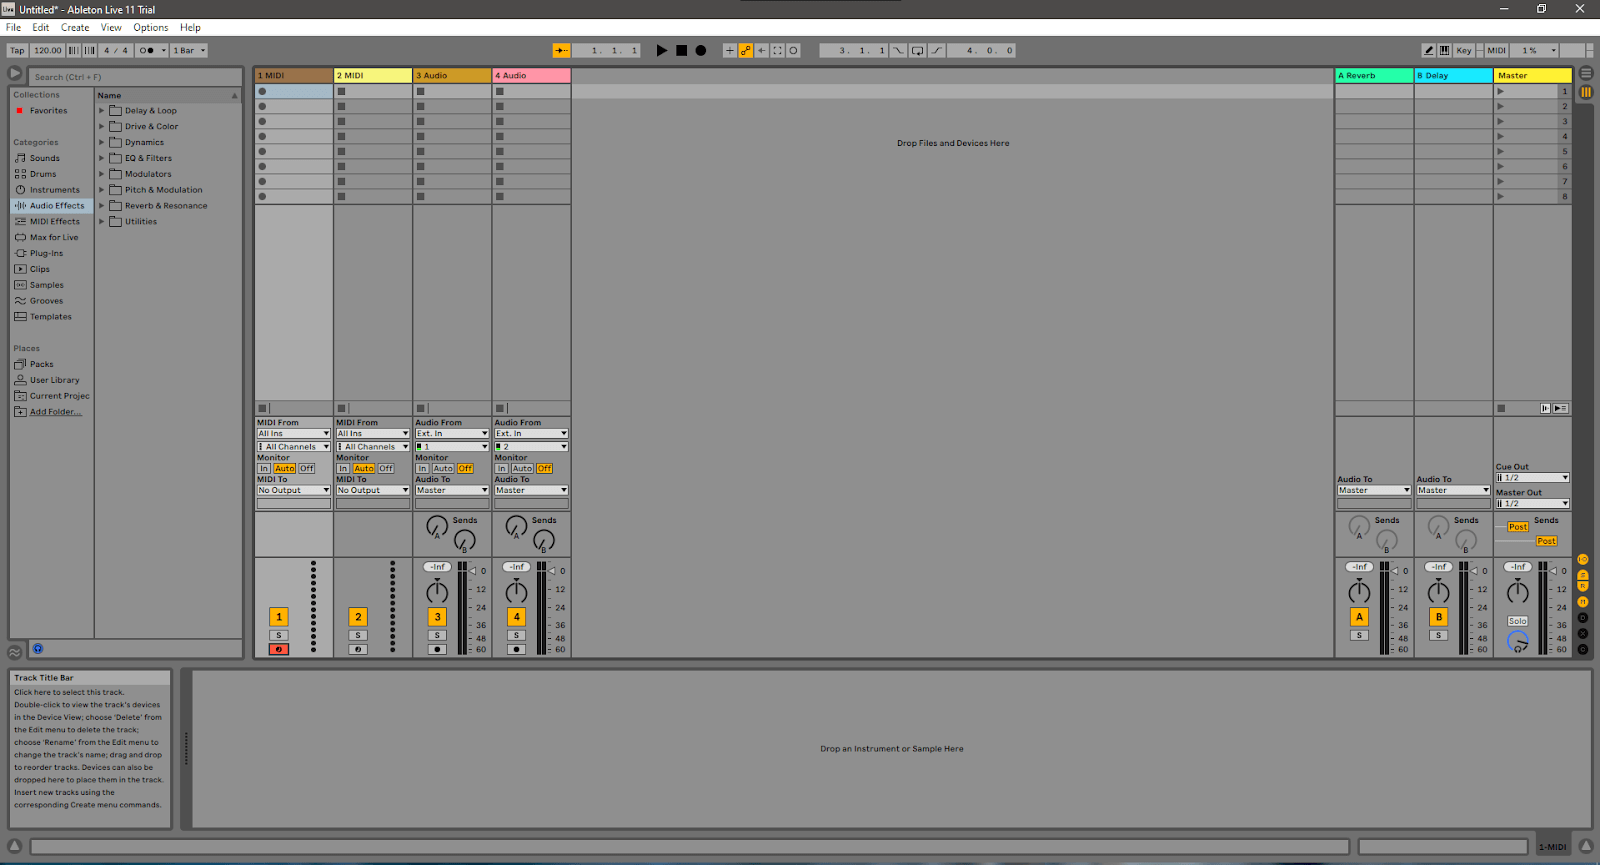 You have 4 tracks. The First two will be listed as 1 MIDI and 2 MIDI, whilst the other 2 will be listed as 3 Audio and 4 Audio. For using the EDK, we are going to use one of the two MIDI tracks.
To be able to use the kit to trigger sounds, we need to choose a MIDI device to use on the channel. This can be done in the MIDI from section on the channel.
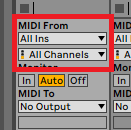
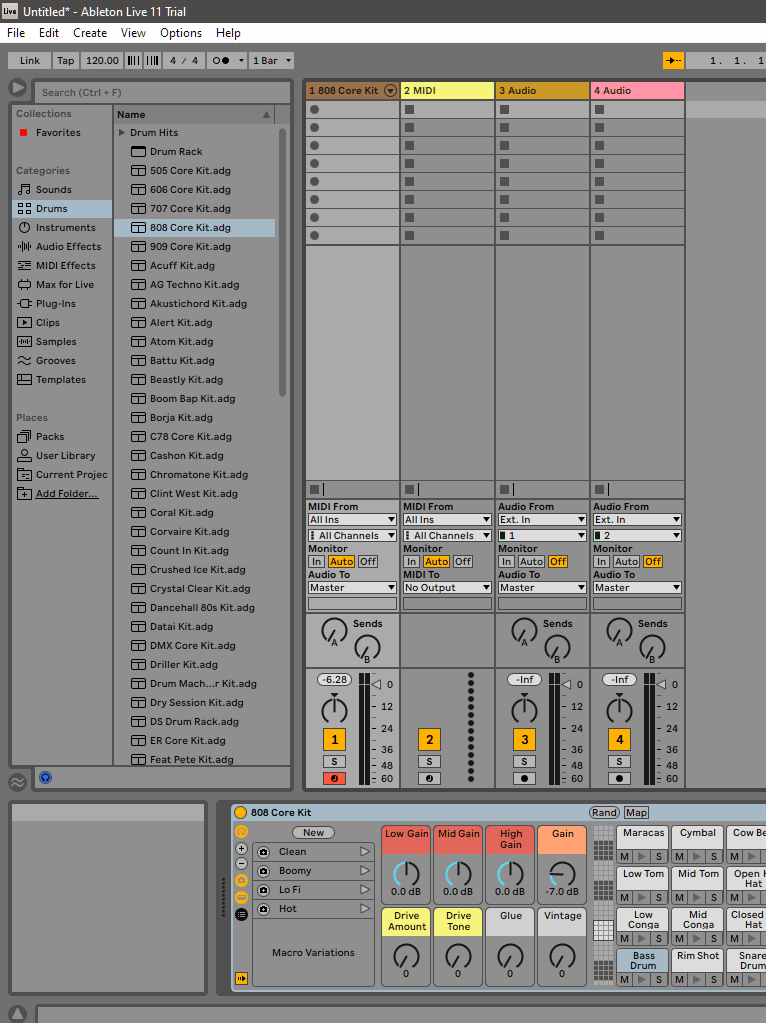
In the first drop-down menu, select the drum kit, which will be visible as “EDRUM”. Once you’ve done this, the kit should be ready to use. It won’t produce any sound yet, as we haven't selected an instrument. From here, you can use anything you’d like. Ableton has some built-in drum sounds that we used to test it with. Firstly on the right-hand side of the screen, under Categories, you’ll have a number of options. If you click Drums, you get a selection of drum kits made by Ableton you can use. To use one, click and drag it onto the MIDI track that you prepared before. Once you’ve done this, the track name will change from 1 MIDI (or 2 MIDI) to the track number and the name of the kit. Below, we used the “808 Core Kit”, meaning our track name changed to 1 808 Core Kit.
After this, there is one last step to ensure your EDK drum kit will trigger the sounds when playing the kit. You will need to ensure that the track is “armed”. To do this, you need to ensure that the “arm track” button is red. This button looks like this.

If that button is red, as shown in the image, you should be able to play your EDK and hear the drum sounds from Ableton. You can then hit record and record your drum performance straight to Ableton.
When you open up Garageband, it will ask you to choose a project. You’ll see a screen similar to this.
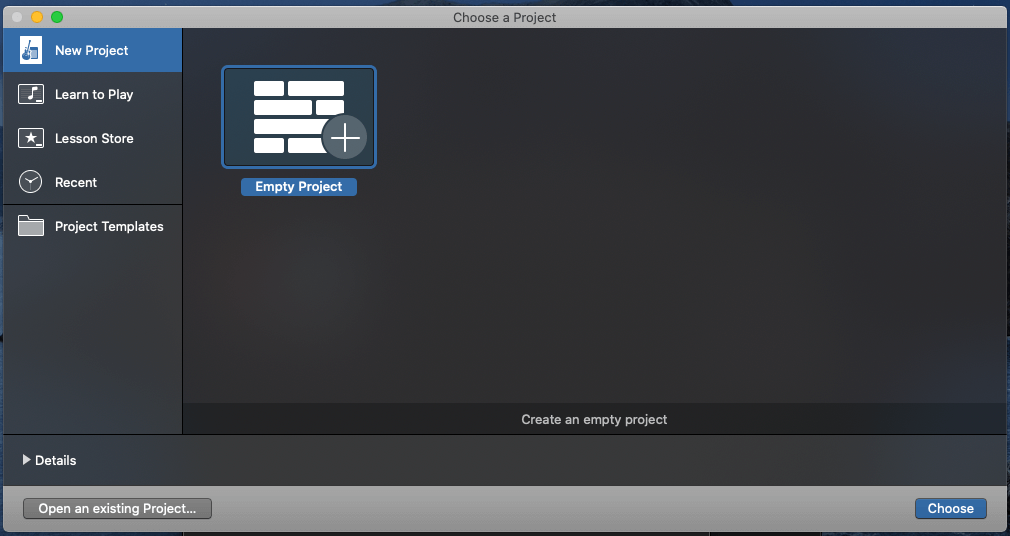
For the purposes of this blog post. We selected “Empty Project”, which creates a new Garageband project. The first step when inside the project is to create a new track. To do this, you’ll need to click on the + on the top left of the screen. After this, you’ll see the following.
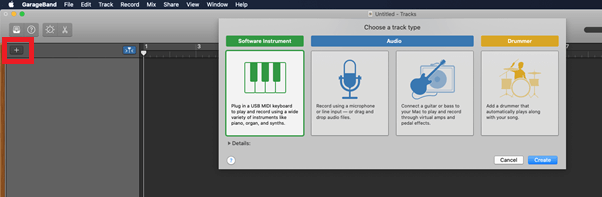
To utilize the EDK Drum Kit, you’ll need to select the green option on the left, “Software Instrument”. Once you open this, it should automatically assign it as a Piano. We are playing a drum kit, so unless you want your kit to sound like a piano, we need to change the instrument. To do this, we have to open the library
When the library is open, it will look like this
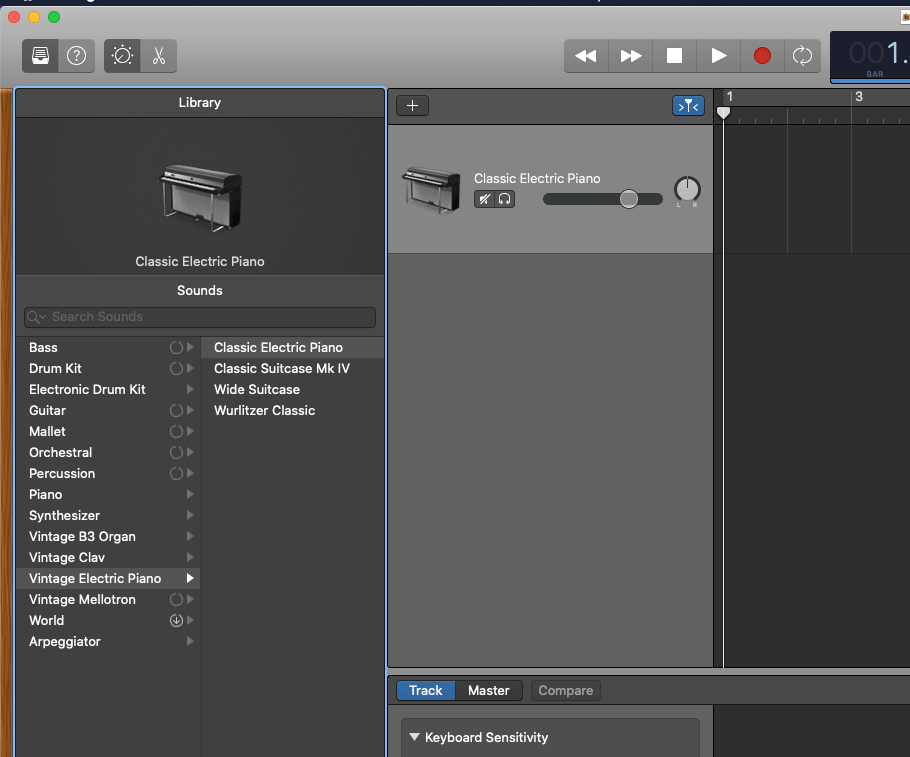
To get a drum sound, we want to click “Drum Kit” and then choose your kit from the menu. We chose the “SoCal” kit in GarageBand. Double click the kit and it should be ready to go.
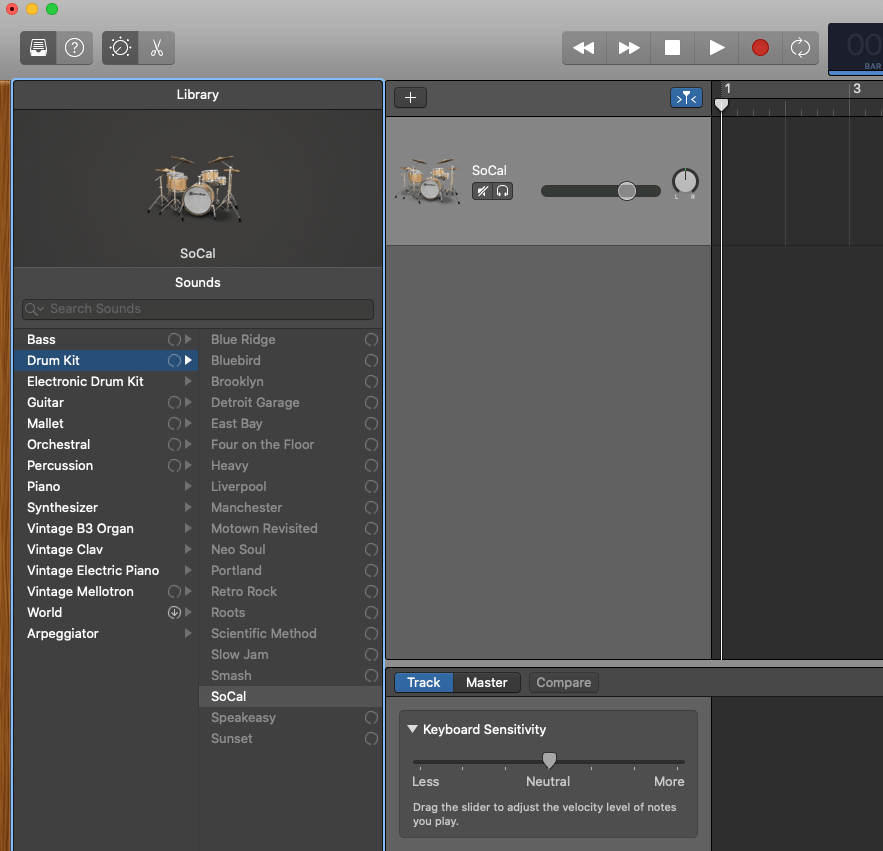
Click on the channel and you should be able to hear and record your drum performance into GarageBand.
As can be seen, setting up your EDK to use as a MIDI controller is not as daunting as it may seem. It’s relatively straightforward, and once set up, the possibilities are endless.
Thanks for reading this blog! to give you even more great content, check out our pages.
I hope this article has helped. if you need any assistance please email:
sales@artistguitars.com.au or call us on 1300 489 816
© Artist Guitars 2021
